Sometimes you just have to get a face to face meeting to close a deal, make a lasting contact, or see far-flung family members for the holiday. With Phone.com’s new Video Conferencing feature, we give you the perfect tool for being there even when you can’t be there.
This blog will walk you through how to set up Video Conferencing on your account.
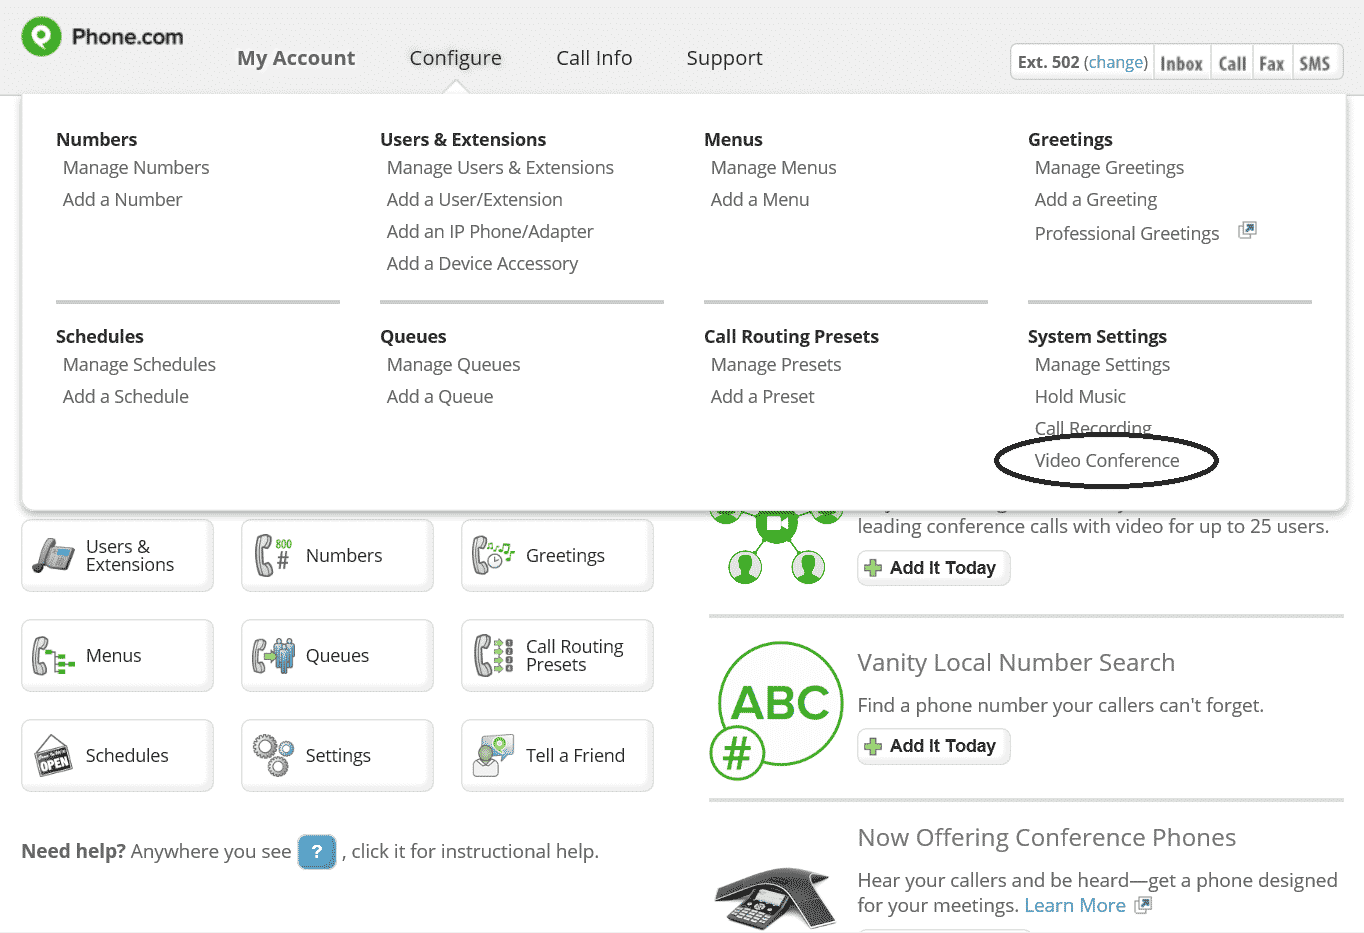
The first step is to login to your Phone.com control panel. Next, mouse over configure to bring up the menu and choose Video Conference.

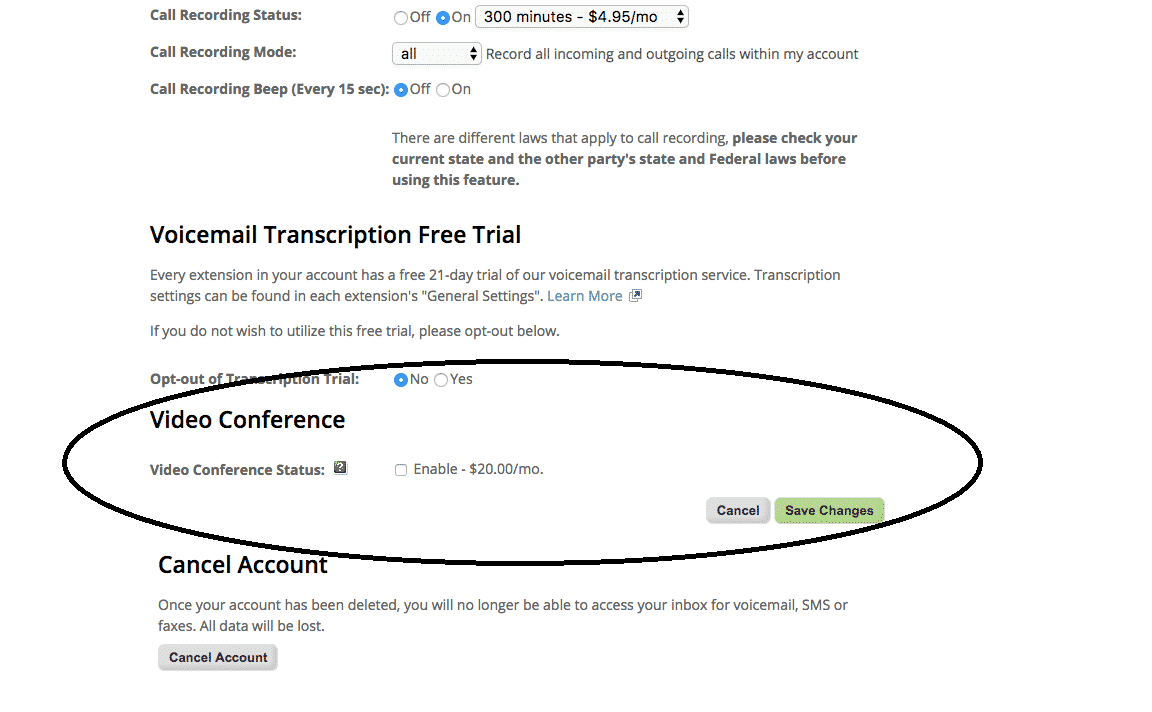
This will take you to the System Settings screen where you can enable the Video Conference feature with a check box.

After you check the box next to Enable, be sure to click the Save Changes button. Remember, the $20 per month fee enables video conferencing on every extension. Whether you have one or 100 extensions, you get video conferencing on them all and the price is still $20 per month.
Currently, disabling the Video Conference feature requires you to contact Customer Support.
Once enabled, you are ready to host your first video conference. Now I’ll take a quick look at the basics of setting up your first video conference.
To set up your video conference, you’ll need two things, an extension bridge and the video conference URL: https://video.phone.com/
Put together, the link will look like https://video.phone.com/123456 for example.
The extension bridge is the same as you use for a conference call, and this can be found in your edit extension menu under conferencing. Here you’ll also find a link to quick start a video conference session. To invite others, just share the full link including the bridge number with them and you’re ready to go. You can invite up to 25 participants to the video call, but because it is linked to your conference bridge, up to 200 more participants can call in to the same conference for audio only.
For a more in depth look and a detailed FAQ, click here, and if you need more help, contact customer support.
